It’s no secret I’m not a fan of many popular gluten-free ingredients. Most of the GF flour mixes and recipes out there contain too much starch, in particular potato and rice starch which are quite processed, and contribute to insulin issues along with feeding inflammation.
When going gluten-free, the main problem when making recipes is of course texture. This is why gluten free recipes often use A LOT of starch. It adds lightness, and mimics that gluten effect that we want from our baking.
In this crepe recipe I appear to have deviated from my normal avoidance of starch. I just haven’t been able to get a nice enough crepe texture, that the whole family would not hesitate to devour that is, using lower starch ingredient like almond four and coconut flour.
The good news is we have a goal here.
Food must be healthy, and it also must be delicious. We aren’t going to eat crepes every day are we? They are a weekend treat, a family tradition for a Sunday morning that you can continue while you also support you and your family’s health.
It’s not necessary to be on a strict diet all the time. It’s ok to bend the rules, in safe ways. I want you to really take a moment and hear that.
Food is not a punishment. Healthy eating is not a prison sentence.
The starch I use in my crepes is Tapioca flour, which is derived from cassava tubers, (it is very similar to Arrowroot starch which is a similar species of plant, but just a different variety) It is more commonly known for the dried tuber-pearls that are made into Tapioca Pudding. I remember this as kid, unfortunately cooked with loads of white sugar. While the flour form of tapioca tubers is certainly a high-glycemic starch (that we want to avoid too much of), it is still more beneficial than other starch products.
Some benefits of Tapioca Flour, that balance the High GI:
1. It is a good source of prebiotic fibre, making it a valuable source of food for gut flora.
2. For those with IBS, other gut-related inflammatory conditions or autoimmune conditions related to leaky-gut, tapioca is less irritating to the digestive tract than many grain-based gluten-free starches such as rice and grain-based flours.
3. Being gluten free, grain free and nut free, it is low-allergen option for those who are trying to limit those foods.
4. When used in low-sugar recipes, alongside other low GI foods, and within a generally low-carb lifestyle, tapioca flour can be a reasonable source of calories, in the context that it is mild, and easy on the digestive system.
In short, tapioca four is okay when used in moderation. And it makes grain-free food a bit more fun.
Now, here is my Delicious Crepe Recipe!
Ingredients
1/2 Cup fine Almond Flour/Meal
1/2 Cup Tapioca Flour
1 Cup Almond Milk
1 Tbs Lairds Unsweetened Superfood Creamer (I love adding this to baking but simply omit if you don’t have)
Dash of salt
2 Tbs melted Butter (cooled slightly)
3 Eggs, room temperature (I often run mine under warm-ish water to take the fridge-chill off)
Method
1. Mix flours and salt together, making sure to get rid of any lumps and sifting if needed.
2. Adds eggs, flour mixture and butter to blender. Bend until smooth.
3. Set mixture in fridge for minimum 15 minutes. This allows the starch to work and thicken the mixture a little so it will hold together when cooked.
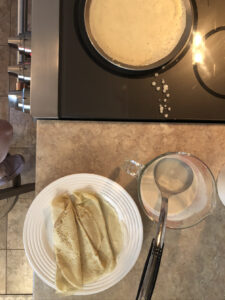
4. Once ready, add a little butter to a crepe pan over medium heat. Spoon mixture in the middle and turn pan to coat the pan thinly.
Turn gently when the crepe looks mostly cooked through, it may turn slightly dry and golden on the edges. I find this technique simply takes lots of practise, a good pan, and a bit of luck!
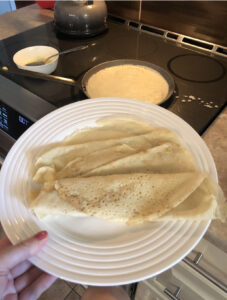
5. The crepes only need a short minute on the second side. Roll into crepe by folding the edges in towards the middle, then set aside. Repeat until all crepe batter is used, or save a bit of batter for the following day!


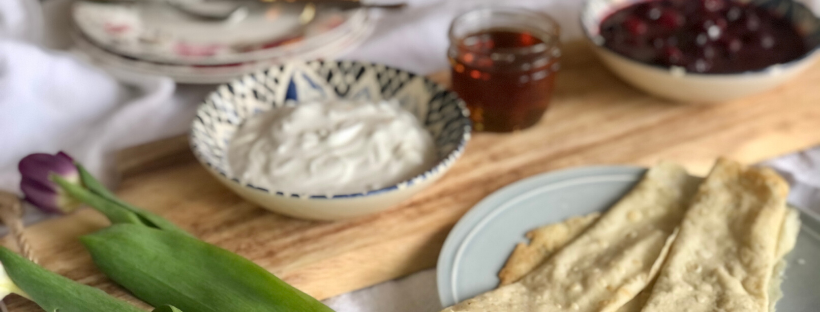
To serve: How about Berry Sauce, Coconut Yogurt, Maple Syrup?
I like serving crepes with a warm berry sauce which is very easy. I make mine by adding any frozen berries to a pot, with a dash of water, vanilla and a few drops of vanilla stevia. Heat for about 10 minutes gently stirring. TIP: This can be done while the batter is setting and then put in the fridge to cool slightly before serving time. ANOTHER TIP: I transfer mine to a bowl at this stage so it cools faster.
Once you’ve got your toppings ready it’s fun to let everyone put their own together. Berries on the inside, or on top, it’ll all taste delicious. Guaranteed.
Thanks for dropping by here, and for your commitment to learning to eat healthy food, more joyfully.
Much Love,
Sita xo


